1. Vacuum the pool and remove all leaves and debris.
2. CHLORINE POOLS
Test water and make sure Ph and chlorine are in normal range. If Ph balance is off, add proper amounts of Ph plus or minus to correct the problem. Run the filter on bottom drain for approximately 2 hours before adding winter chemicals. If the chlorine is too high or low, adjust the amount of winter chlorine used to coincide with your chlorine reading.
Softswim
Test water for Ph balance. Adjust as needed and circulate for 2 hours before adding winter chemicals. For winterizing, add monthly dose of Shock, weekly dose of Baqua Check 50 and test the Softswim level and top it up to 50 by adding the full amount on your kit calculator.
3. Drain the water level in the pool down 2″ below the skimmer face plate.
4. Add winter chemicals to the pool and circulate through the bottom drain for 1 or 2 hours.
5. While chemicals are circulating, lay out water tubes around the pool area and fill them 2/3rds full with water. Check to make sure none of the tubes are leaking.
6. Remove ladders and handrails from the pool. Clean and dry them before storing.
7. If you have a light, remove the top screw from the light assembly and pull light assembly out of the pool and lay it on the deck so it may be covered with the winter cover.
8. Remove directional eyeballs from the wall returns. DO NOT forget step returns, if you have them.
9. Disconnect return lines from the filter and blow each line out with an air compressor. While a strong flow of air is blowing out the return, insert a screw in the winter plug where you removed the directional eyeball. DO NOT continue to blow air through the lines after you have plugged them. Repeat the procedure with step returns.
10. Remove the basket from the skimmer. Disconnect the skimmer line and blow the water from the line. Insert the Gizzmo into the skimmer to plug the line.
11. If there is a bottom drain line, disconnect it from the filter and blow it out. NOTE: It is impossible to blow all the water from this line, so we recommend adding 1/2 to 1 gallon of a vegetable type antifreeze into the line. DO NOT USE CAR ANTIFREEZE – IT IS TOXIC AND COULD BE HARMFUL TO YOUR LINER AND PIPES.
12. Reconnect all lines that were disconnected from the filter or cover them with duct tape so that water cannot back into them.
13. Open drain cap at the bottom of the filter. Drain all the water from the tank. Leave the drain cap off to prevent possible freeze damage to the filter bottom.
14. Open the pump lid and remove the basket. Also remove the drain plugs from the back and side of the pup and leave them out for the winter.
15. If you have an automatic chlorinator and it can be removed, do so and tape the lines shut. If you can’t remove it, drain the water from it and fill it 1/3rd full with the same vegetable antifreeze used in the bottom drain line.
16. Diving boards and slides can be removed from the pool or covered. However, remember that if you remove them, handle it carefully and store it in a safe place because they are fiberglass and can be damaged easily.
17. If you have a heater, turn off all oil or gas lines, then open the petcocks at the side of the heater and make sure it is completely drained. Leave the petcocks open.
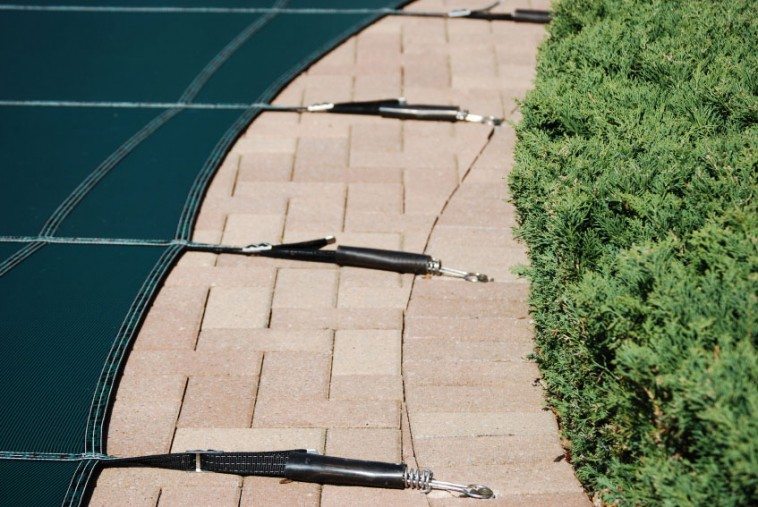
18. Install cover, making sure that the cover goes down the side wall of the pool and lays on the concrete deck. Slide the water tubes through the lops and onto the cover.
19. Gather all small items removed from the pool, such as light screw, eyeballs, filter drain cap, pump plugs, etc. and put them in a plastic bag and store them in the skimmer basket until spring.
NOTE: It is recommended that solar covers be hosed off thoroughly and dried before storing for the winter.